
1. To register a new document, click on the document information icon on the right side of the home ribbon or the document information icon on the ECM ribbon. The document information pane will open to the right of the screen.
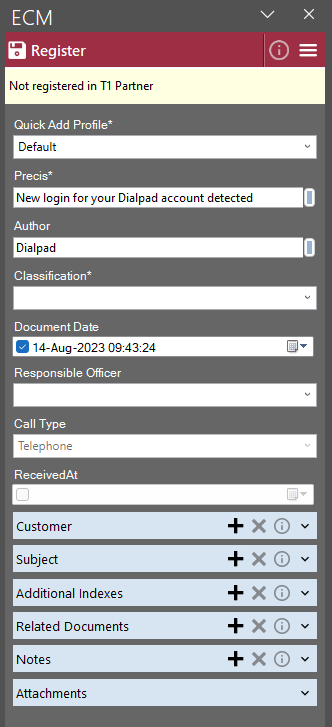
2. Select a Quick Add Profile (QAP).
3. Add the required document information e.g. Precis/Title*, Document Classification. Based on your Quick Add Profile/Site requirements
4.To add an index. Any mandatory indexes will be shown in the document properties screen with an Asterix after its name. Add an index by Clicking the ‘+’ to search and add an index (you can add multiple indexes). To remove an index, highlight the index and click ‘X’.
6. To relate this document to an existing ECM record, click the ‘+’ in the Related Documents section and search for the existing document.
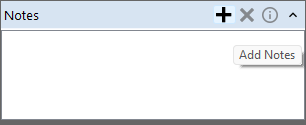
7. To add a note. Click ‘+’ to add a note title and description. This note will be added to the document, against the version that is registered into ECM.
Note – The Quick Add Profile displayed is the default as nominated in site configuration.
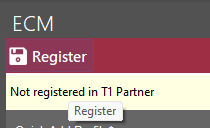
8. After you have added your index(es), click the register icon to save the document into ECM.
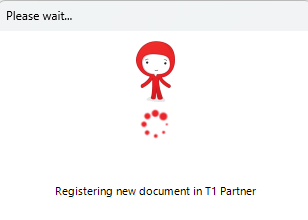
Document registration will then begin.
9. The following windows notification will be shown when the document is successfully registered.
10. by clicking on the notification, the user can access additional document options
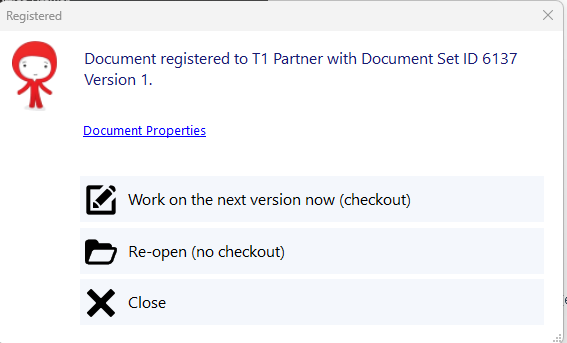
A description of the options available on this screen is outlined below:
10. by clicking on the notification, the user can access additional document options
- ECM document properties – opens the Ci Anywhere ECM document properties page.
- Work on the next version now (checkout) – this will open the document in the relevant MS application (e.g. Word) and check it out to allow the user to start working on the next version.
- Keep open (no checkout) – the document will remain open but will not be checked out. This is useful if the user wishes to print or email the document before closing. If there are merge fields within the document, they will not update until the registration process has been completed.
- Close – This will close the dialogue box.
The recently registered document can also now be accessed from the RedOffice - Drawer recent document list
